/*! elementor – v3.7.4 – 31-08-2022 */
.elementor-testimonial-wrapper{overflow:hidden;text-align:center}.elementor-testimonial-wrapper .elementor-testimonial-content{font-size:1.3em;margin-bottom:20px}.elementor-testimonial-wrapper .elementor-testimonial-name{line-height:1.5;display:block}.elementor-testimonial-wrapper .elementor-testimonial-job{font-size:.85em;display:block}.elementor-testimonial-wrapper .elementor-testimonial-meta{width:100%;line-height:1}.elementor-testimonial-wrapper .elementor-testimonial-meta-inner{display:inline-block}.elementor-testimonial-wrapper .elementor-testimonial-meta .elementor-testimonial-details,.elementor-testimonial-wrapper .elementor-testimonial-meta .elementor-testimonial-image{display:table-cell;vertical-align:middle}.elementor-testimonial-wrapper .elementor-testimonial-meta .elementor-testimonial-image img{width:60px;height:60px;border-radius:50%;-o-object-fit:cover;object-fit:cover;max-width:none}.elementor-testimonial-wrapper .elementor-testimonial-meta.elementor-testimonial-image-position-aside .elementor-testimonial-image{padding-right:15px}.elementor-testimonial-wrapper .elementor-testimonial-meta.elementor-testimonial-image-position-aside .elementor-testimonial-details{text-align:left}.elementor-testimonial-wrapper .elementor-testimonial-meta.elementor-testimonial-image-position-top .elementor-testimonial-details,.elementor-testimonial-wrapper .elementor-testimonial-meta.elementor-testimonial-image-position-top .elementor-testimonial-image{display:block}.elementor-testimonial-wrapper .elementor-testimonial-meta.elementor-testimonial-image-position-top .elementor-testimonial-image{margin-bottom:20px}
.elementor-testimonial-wrapper{overflow:hidden;text-align:center}.elementor-testimonial-wrapper .elementor-testimonial-content{font-size:1.3em;margin-bottom:20px}.elementor-testimonial-wrapper .elementor-testimonial-name{line-height:1.5;display:block}.elementor-testimonial-wrapper .elementor-testimonial-job{font-size:.85em;display:block}.elementor-testimonial-wrapper .elementor-testimonial-meta{width:100%;line-height:1}.elementor-testimonial-wrapper .elementor-testimonial-meta-inner{display:inline-block}.elementor-testimonial-wrapper .elementor-testimonial-meta .elementor-testimonial-details,.elementor-testimonial-wrapper .elementor-testimonial-meta .elementor-testimonial-image{display:table-cell;vertical-align:middle}.elementor-testimonial-wrapper .elementor-testimonial-meta .elementor-testimonial-image img{width:60px;height:60px;border-radius:50%;-o-object-fit:cover;object-fit:cover;max-width:none}.elementor-testimonial-wrapper .elementor-testimonial-meta.elementor-testimonial-image-position-aside .elementor-testimonial-image{padding-right:15px}.elementor-testimonial-wrapper .elementor-testimonial-meta.elementor-testimonial-image-position-aside .elementor-testimonial-details{text-align:left}.elementor-testimonial-wrapper .elementor-testimonial-meta.elementor-testimonial-image-position-top .elementor-testimonial-details,.elementor-testimonial-wrapper .elementor-testimonial-meta.elementor-testimonial-image-position-top .elementor-testimonial-image{display:block}.elementor-testimonial-wrapper .elementor-testimonial-meta.elementor-testimonial-image-position-top .elementor-testimonial-image{margin-bottom:20px}
Feta cheese is a great beginner cheese. No need to worry about setting up an aging area, or buying fancy equipment! All you need is some ingredients and few basic kitchen tools to make this delicious aged cheese!
Recipe By
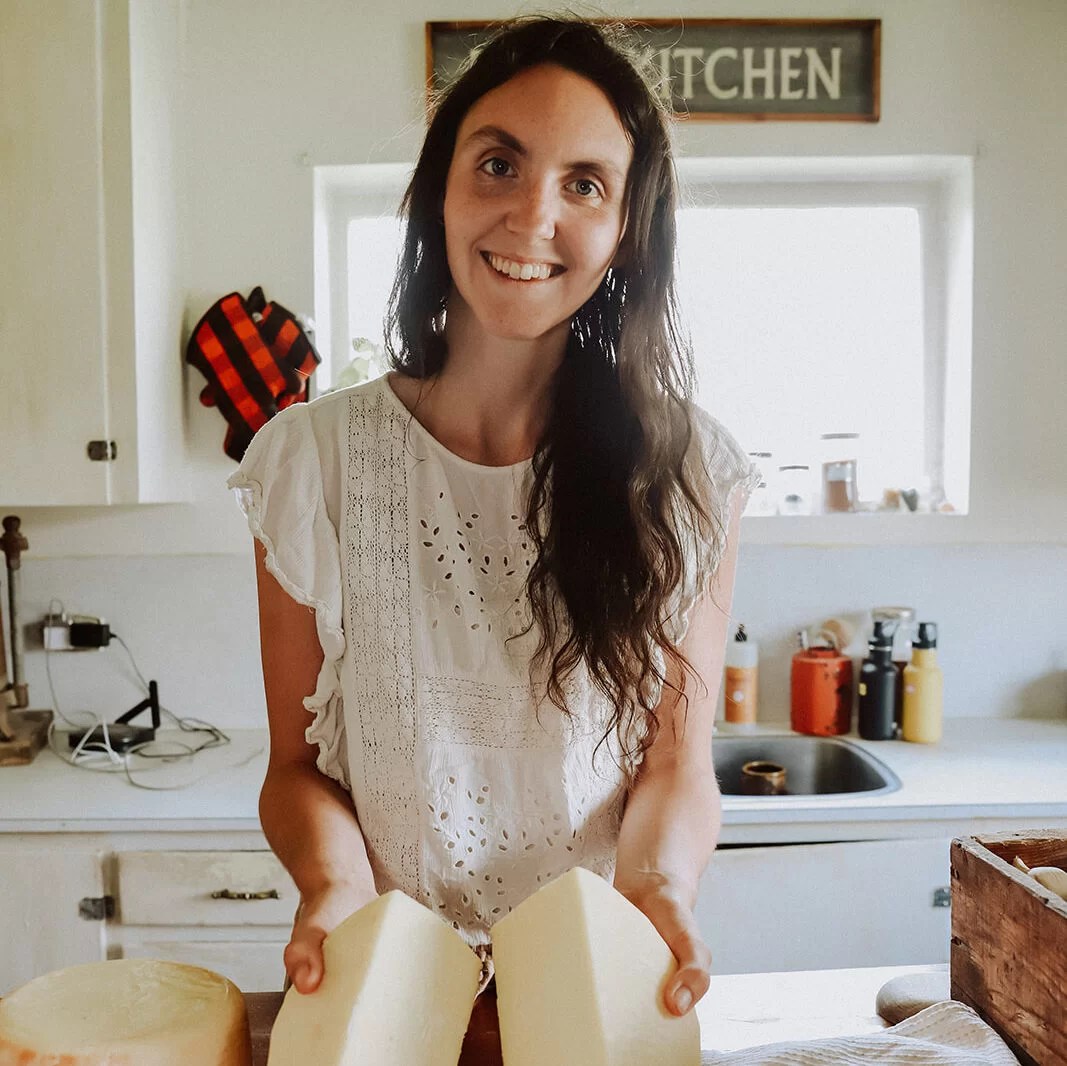
Robyn Jackson
/*! elementor – v3.7.4 – 31-08-2022 */
.elementor-widget-video .elementor-widget-container{overflow:hidden;-webkit-transform:translateZ(0);transform:translateZ(0)}.elementor-widget-video .elementor-open-inline .elementor-custom-embed-image-overlay{position:absolute;top:0;left:0;width:100%;height:100%;background-size:cover;background-position:50%}.elementor-widget-video .elementor-custom-embed-image-overlay{cursor:pointer;text-align:center}.elementor-widget-video .elementor-custom-embed-image-overlay:hover .elementor-custom-embed-play i{opacity:1}.elementor-widget-video .elementor-custom-embed-image-overlay img{display:block;width:100%}.elementor-widget-video .e-hosted-video .elementor-video{-o-object-fit:cover;object-fit:cover}.e-container>.elementor-widget-video{width:var(–container-widget-width,100%)}
.elementor-widget-video .elementor-widget-container{overflow:hidden;-webkit-transform:translateZ(0);transform:translateZ(0)}.elementor-widget-video .elementor-open-inline .elementor-custom-embed-image-overlay{position:absolute;top:0;left:0;width:100%;height:100%;background-size:cover;background-position:50%}.elementor-widget-video .elementor-custom-embed-image-overlay{cursor:pointer;text-align:center}.elementor-widget-video .elementor-custom-embed-image-overlay:hover .elementor-custom-embed-play i{opacity:1}.elementor-widget-video .elementor-custom-embed-image-overlay img{display:block;width:100%}.elementor-widget-video .e-hosted-video .elementor-video{-o-object-fit:cover;object-fit:cover}.e-container>.elementor-widget-video{width:var(–container-widget-width,100%)}
Feta Cheese Recipe
This cheese recipe is great for someone just starting out with cheesemaking. You needn’t figure out pressing, or a designated aging area. All you really need is a few gallons of good quality raw milk, a few simple ingredients, and a pot to fit it all in.
Ingredients
- 2.5 Gallons Good Quality Raw Milk if you are not using raw milk, see notes
- 1/2 tsp Freeze Dried Mesophilic Culture
- 1/2 tsp Liquid Calf Rennet
- Fine Ground Salt with no additives
Instructions
-
Warm Milk to 88-90F
-
Add Culture, and allow to rehydrate for 5 min, before gently, but thoroughly incorporating into milk.
-
Put lid on Pot and Ripen 1 hour.
-
Dilute Rennet in 1/4 cup cool water. Incorporate gently, but thoroughly into milk.
-
Let sit covered for 30 min to 1 hour until you achieve a clean break. A clean break is when you stick your finger under the surface of the curds, and gently lift upwards. The milk should split at the surface, in a “clean break”.
-
Check for a clean break.
-
Cut a grid of 3/4 inch cubes. This means cut horizontally, vertically, and up and down so that your curds are 3,4 inch cubes. Let them sit for 5 min so that they “firm up”.
-
Stir curds gently for 20-30 min or until they have shrunk slightly, and when pressed between your fingers, they break apart, but have a slight firmness, similar to a poached egg.
-
Let curds settle to the bottom of your pot. Scoop off the whey and reserve about half a gallon for a salt brine ( I always reserve a little bit more just to be safe).
-
You can make this salt brine now. It is a 10% salt brine, so meaning 10% salt, 90% whey.
-
Drain remaining curds through a cloth lined colander. Drain 5 min.
-
Fill forms to the top. ( you can use designated forms, or old yogurt containers with holes punched in them). Place on a draining rack. Flip cheeses in the forms every 10 min for the first hour. After this, allow cheeses to sit in forms until the next day.
-
Remove from the forms, Cut the cheeses so that they will fit in your aging vessel (jar). Dry salt cheeses by rubbing the entire surfaces of the cheeses with salt, use as much salt as the surfaces will take. Leave the cheeses to air dry on the counter until they have formed dry rinds, and are no longer “squishy”. This can take anywhere between a day to three to achieve. If it takes longer, you may notice a small amount of mold growth. Wash this off with your salt brine.
-
Submerge cheeses in prepared brine. Ensure that they are completely covered in brine. Place in the refrigerator.
Notes
They will be ready to eat after only a few weeks, but they just get better with time! Using good quality, fresh milk. This batch will yield approximately a 1 gallon jar filled with Feta cheese.
Notes; If you are using pasteurized milk, know that the finished product may be different, and that you will not achieve as high a yield. If using pasteurized milk, ensure that you add calcium chloride before adding the rennet.
Disclaimer: all images are owned and copyright by their respective owners and website (cheesefromscratch.com) and “https://cheese.deals/blogs” is for news, information, product news and reviews.